🔥 新プロジェクトのご紹介 t0ggles -究極のプロジェクト管理ツール! 🔥


Konsta UI & Nuxt
NuxtでKonsta UI Vueコンポーネントを使用する方法を見てみましょう。
このKonsta Nuxt 3 Starterリポジトリをフォークするか、以下のガイドに従って開始できます。
Konsta UIはVue.js v3専用のコンポーネントであるため、Nuxt 3のみと互換性があります。
Nuxtプロジェクトの作成
最初に、Nuxtプロジェクトを作成します
Tailwind CSSのインストール
公式のTailwind CSSインストールガイドに従うことができます
必要な依存関係をすべてインストールします
npm install -D tailwindcss postcss@latest autoprefixer@latest sass
npx tailwindcss init
次の内容を含む`postcss.config.js`ファイルを作成します
module.exports = {
  plugins: {
    tailwindcss: {},
    autoprefixer: {},
  },
};
`nuxt.config.js`でPost CSSと`konsta`トランスパイルを有効にします
import { defineNuxtConfig } from 'nuxt';

export default defineNuxtConfig({
  build: {
    transpile: ['konsta'],
    postcss: {
      postcssOptions: require('./postcss.config.js'),
    },
  },
});
Tailwind CSSスタイル
Tailwind CSSを含めるために、次の内容を含む`assets/globals.css`ファイルを作成します
@import url('https://fonts.googleapis.com/css2?family=Roboto:wght@400;500;700;900&display=swap');
@tailwind base;
@tailwind components;
@tailwind utilities;
Konsta UIのインストール
作成したNuxtプロジェクトで、Konsta UIをインストールする必要があります
npm i konsta
`tailwind.config.js`ファイルで、Konsta UIのconfigを使用してconfigを拡張する必要があります
// import konstaConfig config
const konstaConfig = require('konsta/config');

// wrap config with konstaConfig config
module.exports = konstaConfig({
  content: [
    './components/*.{js,ts,jsx,vue}',
    './pages/*.{js,ts,jsx,vue}',
  ],
  darkMode: 'media', // or 'class'
  theme: {
    extend: {},
  },
  variants: {
    extend: {},
  },
  plugins: [],
});
Appコンポーネント
いくつかのグローバルパラメータ(`theme`など)を設定できるように、メインのAppコンポーネントを設定する必要があります。
`./app.vue`でAppでアプリ全体をラップする必要があります
<template>
  <!-- Wrap our app with App component -->
  <k-app theme="ios">
    <NuxtPage />
  </k-app>
</template>

<script>
  import { kApp } from 'konsta/vue';
  import './assets/main.scss';

  export default {
    components: {
      kApp,
    },
  };
</script>
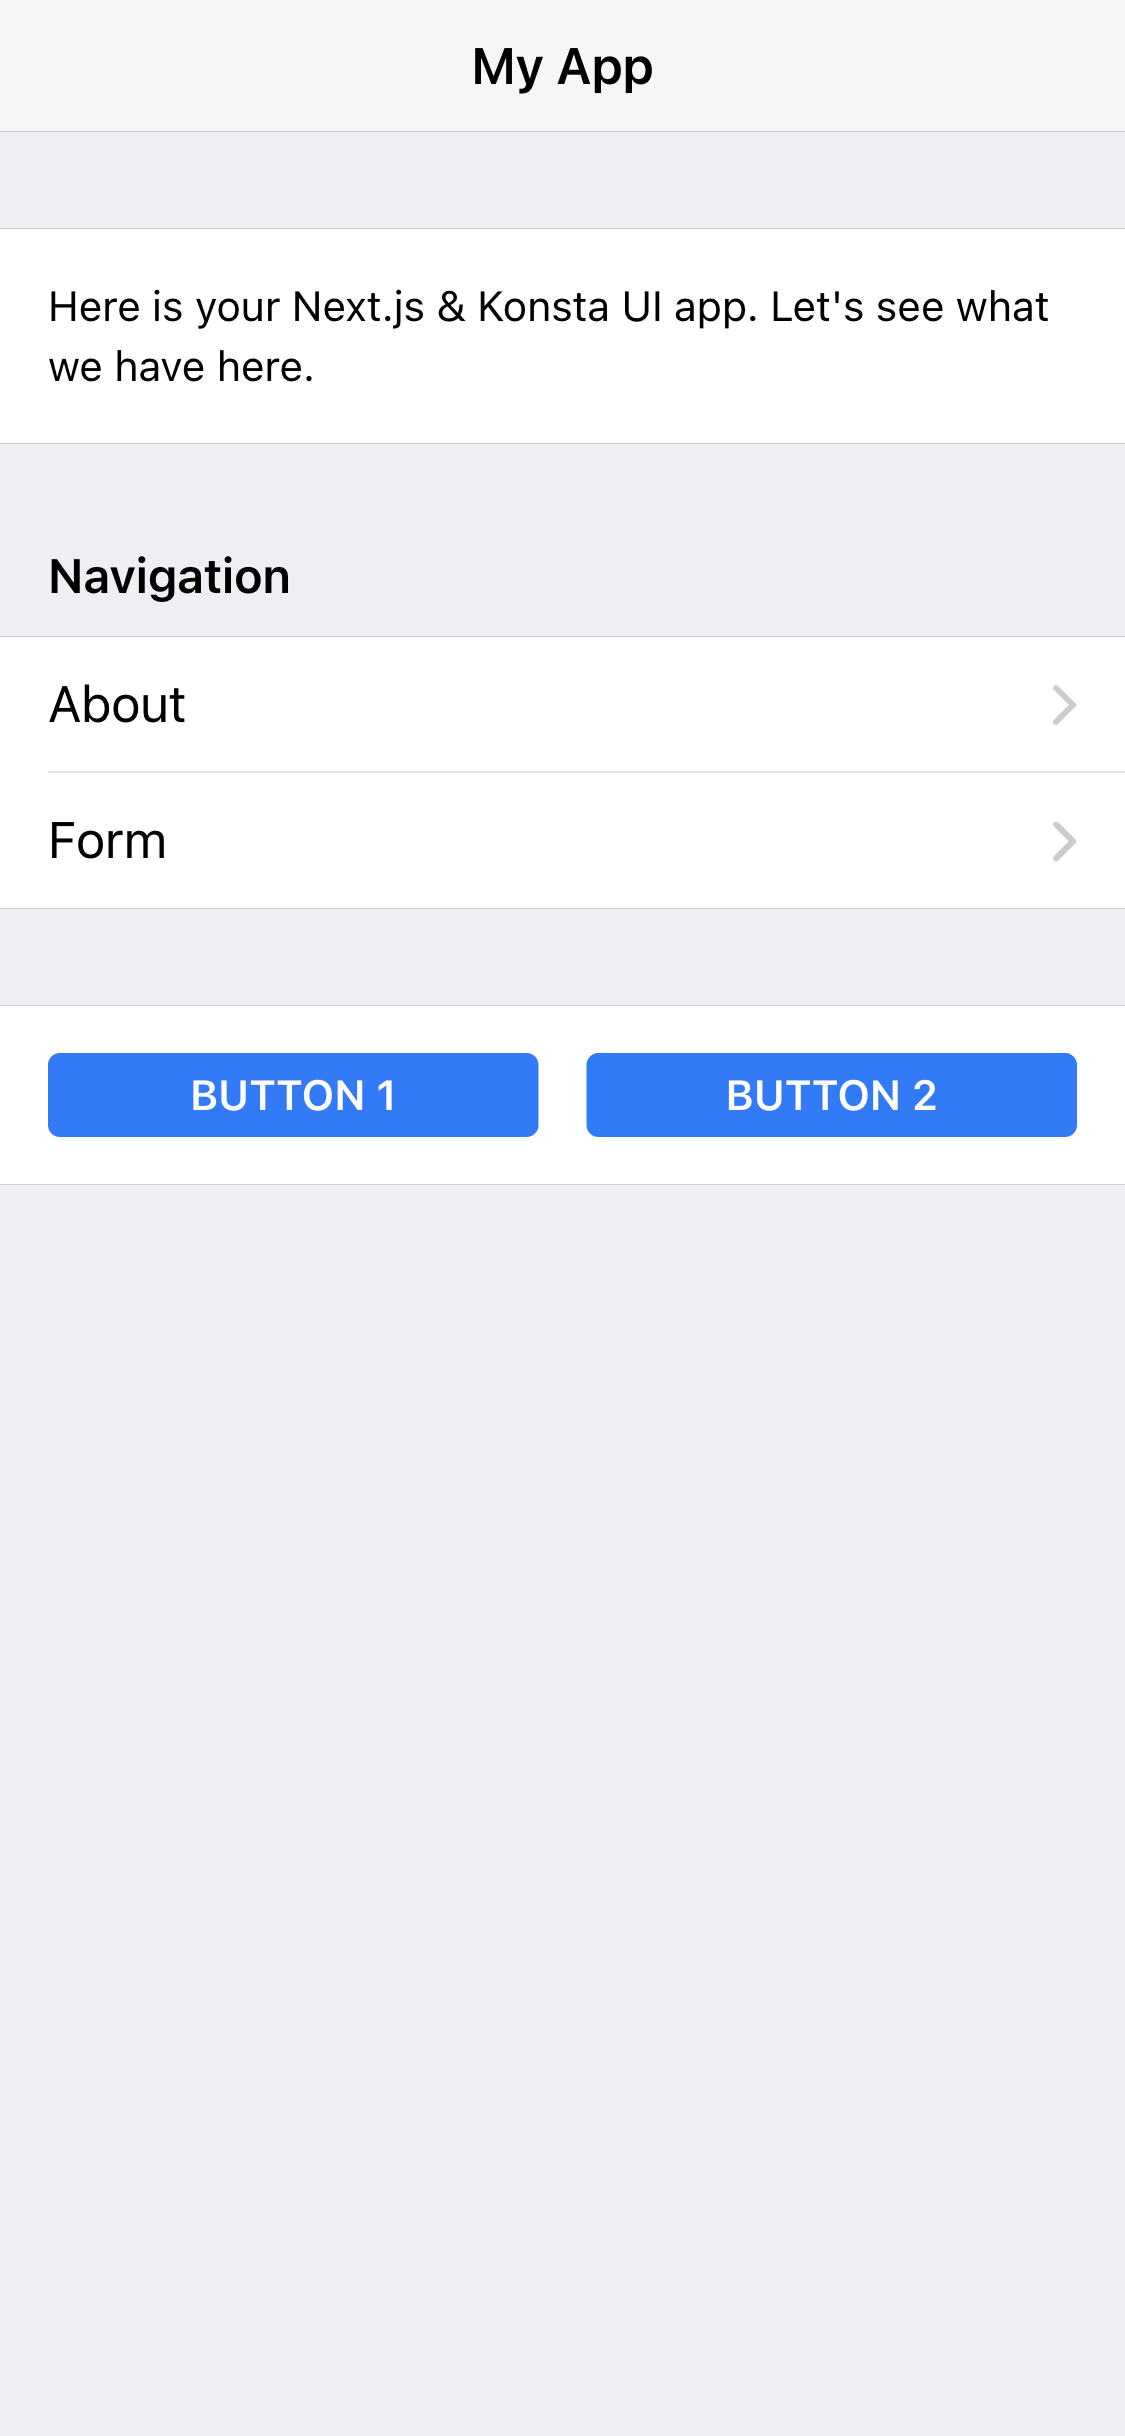
サンプルページ
すべてが設定されたら、NuxtページでKonsta UI Vueコンポーネントを使用できます。
たとえば、`pages/index.vue`を開いて、次のように変更します
<template>
  <k-page>
    <k-navbar title="My App" />

    <k-block strong>
      <p>Here is your Nuxt & Konsta UI app. Let's see what we have here.</p>
    </k-block>
    <k-block-title>Navigation</k-block-title>
    <k-list>
      <k-list-item href="/about/" title="About" />
      <k-list-item href="/form/" title="Form" />
    </k-list>

    <k-block strong class="flex space-x-4">
      <k-button>Button 1</k-button>
      <k-button>Button 2</k-button>
    </k-block>
  </k-page>
</template>
<script>
  // Konsta UI components
  import {
    kPage,
    kNavbar,
    kBlock,
    kButton,
    kList,
    kListItem,
    kLink,
    kBlockTitle,
  } from 'konsta/vue';

  export default {
    components: {
      kPage,
      kNavbar,
      kBlock,
      kButton,
      kList,
      kListItem,
      kLink,
      kBlockTitle,
    },
  };
</script>
その結果、次のページが表示されます
ライセンス MIT.
2022 © Konsta UI by  .
.