


Konsta UI & Framework7
Framework7 ReactでKonsta UI Reactコンポーネントを使用する方法を見てみましょう。
Framework7プロジェクトの作成
まず、Framework7 CLIを使用してFramework7 Reactプロジェクトを作成します。
Tailwind CSS & Konsta UIのインストール
作成したFramework7プロジェクトで、Tailwind CSS & Konsta UIをインストールする必要があります。
npm i tailwindcss konsta
プロジェクトルートにpostcss.config.jsファイルがあります。そこにtailwindcssプラグインを追加する必要があります。
module.exports = {
  plugins: {
    tailwindcss: {}, // <- add this
    'postcss-preset-env': {},
  },
};
tailwind.config.jsファイルを作成し、以下の内容でプロジェクトルートフォルダに追加します。
const konstaConfig = require('konsta/config');

module.exports = konstaConfig({
  content: ['./src/**/*.{js,jsx,ts,tsx}', './src/index.html'],
  darkMode: 'class',
});
Tailwind CSSをアプリケーションのスタイルに含めます。src/css/app.[css|scss|less]の先頭に以下のコードを追加します。
@tailwind base;
@tailwind components;
@tailwind utilities;
KonstaProvider
次に、グローバルパラメータ(例:theme)を設定できるように、KonstaProviderを設定する必要があります。
src/components/app.jsxで、Framework7のメインAppコンポーネントをKonstaProviderでラップする必要があります。
import React from 'react';
import { KonstaProvider } from 'konsta/react';
import { App, /* ... */ } from 'framework7-react';

const MyApp = () => {
  // Framework7 Parameters
  const f7params = {
    theme: 'ios',
    ...
  };

  return (
    // Wrap Framework7's App with KonstaProvider with theme="parent"
    <KonstaProvider theme="parent">
      <App {...f7params}>
        ...
      </App>
    </KonstaProvider>
  );
}

export default MyApp;
使用方法
Framework7は非常に強力で柔軟なルーターを備えています。正しく動作させるには、Framework7のルーター関連コンポーネント:App、View、Page、Navbar、Toolbarを使用する必要があります。
残りのコンポーネント(Konsta UIの代替がある場合)は、Konsta UI (konsta/react) から取得できます。
サンプルページ
すべてが設定されたので、Framework7ページコンポーネントでKonsta UI Reactコンポーネントを使用できます。
例として、src/pages/home.jsxを開き、次のように変更します。
import React from 'react';
// Use Page, Navbar, Toolbar from Framework7
import { Page, Navbar, Toolbar } from 'framework7-react';
// Konsta UI components
import { Block, Button, List, ListItem, Link, BlockTitle } from 'konsta/react';

const HomePage = () => (
  // Use Page, Navbar & Toolbar from Framework7
  <Page name="home">
    <Navbar title="My App" large />
    <Toolbar bottom>
      <Link toolbar>Left Link</Link>
      <Link toolbar>Right Link</Link>
    </Toolbar>
    {/* In page content we can use Konsta UI components  */}
    <Block strong>
      <p>
        Here is your Framework7 & Konsta UI app. Let's see what we have here.
      </p>
    </Block>
    <BlockTitle>Navigation</BlockTitle>
    <List>
      <ListItem href="/about/" title="About" />
      <ListItem href="/form/" title="Form" />
    </List>

    <Block strong className="flex space-x-4">
      <Button>Button 1</Button>
      <Button>Button 2</Button>
    </Block>
  </Page>
);
export default HomePage;
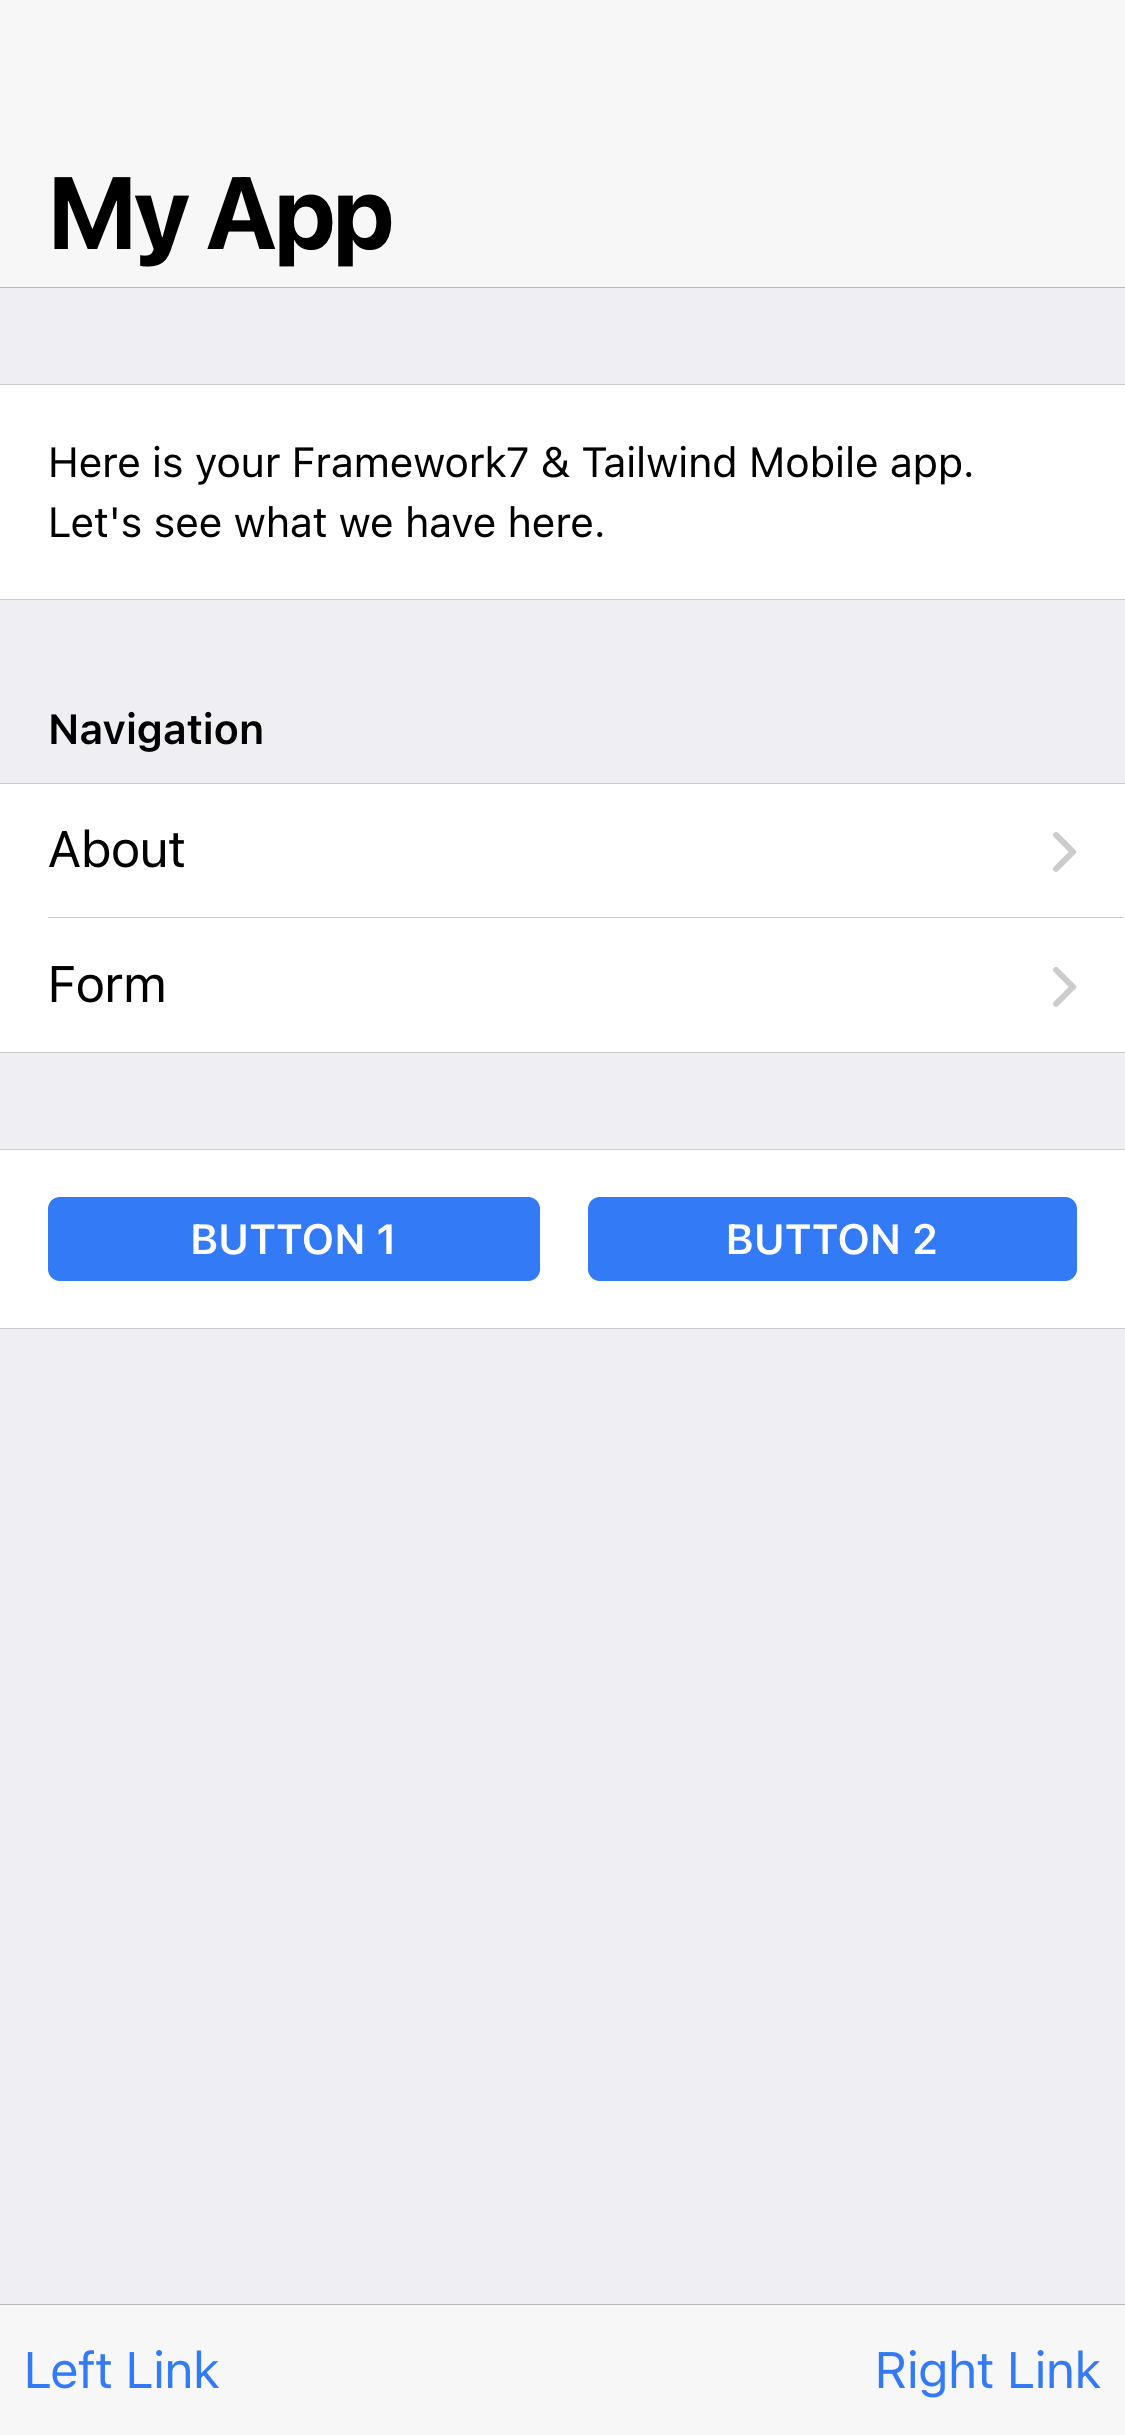
結果として、次のページが表示されます。
ダークモード
Tailwind CSSでは、ダークモードを有効にするにはクラスdarkを追加する必要がある一方、Framework7ではクラスtheme-darkを追加する必要があることに注意してください。
そのため、ダークモードを使用する場合は、ルート要素(できれば<html>要素)に両方のdark theme-darkクラスを設定/削除してください。
カラースキーム
Framework7とKonsta UIは、メインテーマの色に異なるソースを使用します。Framework7のテーマの色はCSSカスタムプロパティを介して設定されますが、Konsta UIのテーマはtailwind.config.jsで設定する必要があります。
| 色 | Framework7 CSS変数 | Konsta UI プロパティ |
|---|---|---|
| プライマリ | --f7-theme-color | プライマリ |
| プライマリ ダーク | --f7-theme-color-shade | primary-dark |
| プライマリ ライト | --f7-theme-color-tint | primary-light |
テーマの色が #ff6b22 であるとすると、以下を設定する必要があります。
app.css (Framework7のテーマの色を設定するため)
:root {
  --f7-theme-color: #ff6b22;
  --f7-theme-color-rgb: 255, 107, 34;
  --f7-theme-color-shade: #f85200;
  --f7-theme-color-tint: #ff864b;
}
そして、tailwind.config.js (Konsta UIのテーマの色を設定するため)
const konstaConfig = require('konsta/config');

module.exports = konstaConfig({
  content: ['./src/**/*.{js,jsx,ts,tsx}', './src/index.html'],
  darkMode: 'class',
  // extend primary color
  theme: {
    extend: {
      colors: {
        primary: {
          light: '#ff864b',
          DEFAULT: '#ff6b22',
          dark: '#f85200',
        },
      },
    },
  },
});